[Solved] Windows 10 Startup Repair Not Working
[Solved] Windows 10 Startup Repair Not Working
Your Windows 10 PC comes equipped with a repair tool called Startup Repair Tool that allows you to fix many issues on your PC. These issues could range from corrupted files to issues in the boot files. The tool takes care of these issues for you and lets you fix them easily. However, sometimes it happens that you see Windows 10 startup repair not working messages on your PC. There are two cases when you find that the tool is not working for you.
The following guide shows both the cases where Windows 10 automatic repair failed and also shows five easy ways for you to fix the tool on your computer. Let's check them out:
- Case 1: Startup Repair Windows couldn't load correctly in Windows 10
- Part 2. How to Fix "Your PC needs to be repaired" on Windows 10?
- Top 5 Ways to Fix Windows 10 Startup Repair Not Working
Case 1: Startup Repair Windows couldn't load correctly in Windows 10
If you get an error message that says the repair tool couldn't load correctly in Windows 10, it's likely that some of the files on your PC have been corrupted. The situation that might have led to this is when you turn off your PC while your PC was writing some data to the boot sector files of your hard drive.
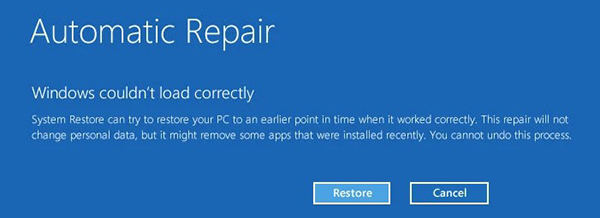
It could also happen when your PC suddenly turns off due to power outage. When this happens, it's advised that you follow the steps given below to fix the issue and get your PC to work normally.
Case 2: Windows 10 Startup Repair couldn't repair your PC
You get the "Automatic Repair couldn't repair your PC" error when you ran the utility but it did not successfully repair your PC. There are a few issues that are beyond the capabilities of the tool and thus those can't be fixed using the automatic repair tool.
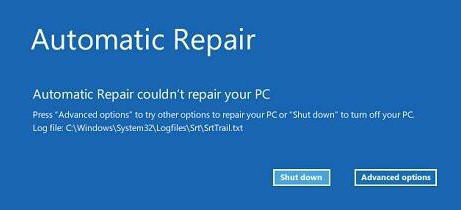
For those issues you will need to get a third-party tool that can help you those kind of issues on your PC. Once you have found such a tool, you will be able to fix the Windows 10 startup repair failed issue on your PC.
Top 5 Ways to Fix Windows 10 Startup Repair Not Working
Regardless of what case applies to your situation, there are a few possible fixes that you can always apply and see if they can fix the issue on your PC. Many of these fixes use the built-in tools on your PC so there really isn't anything you need to download to be able to fix Windows 10 automatic repair not working issue. Here are a few of those fixes for you to check out:
Method 1. Repair File System with the SFC /Scannow Command
If the file system on your PC is corrupted, the System File Checker (SFC) command can fix that for you. It has been built specifically to fix corrupted files and the following steps show how you can use it to fix your files:
● Launch the Windows Boot Menu screen by pressing the Power button a couple of times and head to Troubleshoot > Advanced Options and click on Command Prompt.
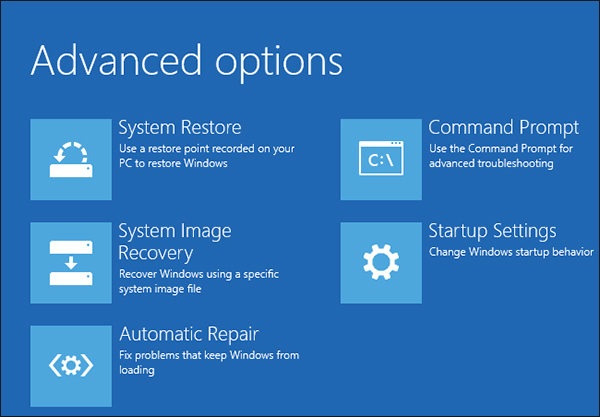
● When the command prompt window opens, type in the following command and hit Enter.
sfc /scannow

Wait while the tool fixes problematic files on your Windows PC. When it's done, reboot your PC and you should have got rid of the issue you were facing on your computer.
Method 2. Check and Fix Disk Errors or File System Corruption with chkdsk
Well, it could be an issue on your disk that is causing you problems with the Startup Repair Tool. In that case, you can use the Windows' built-in chkdsk command tool to fix disk issues on your PC. Here's how to access and use it to fix your disk issues:
● Open a command prompt window from the Windows Boot Menu options by heading to Troubleshoot > Advanced Options and clicking on Command Prompt.
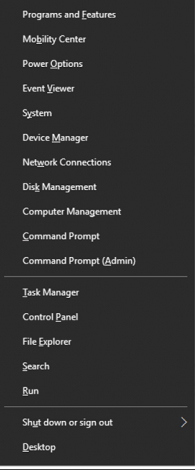
● When a command prompt window opens, enter in the following command and press Enter.
chkdsk /f /r
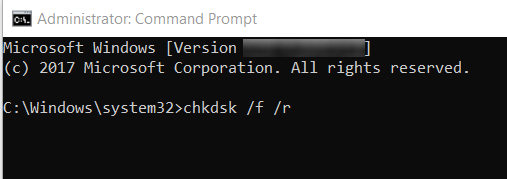
You will need to wait while the command tries to fix the disk related issues on your computer. When it has fixed the issues, reboot your PC and you are all set.
Method 3. Repair MBR and Rebuild the BCD
MBR and BCD are two critical parts of your system and you will face issues if these do not work properly. If either of these is corrupted, your PC will likely throw errors on your screen. Fortunately, it's quite easy to fix both of these and the following shows how:
● From the Windows Boot Menu options, head to Troubleshoot > Advanced Options and click on Command Prompt.

● When the command prompt window launches, type in the following commands one by one and hitting Enter after each line.
bootrec /fixmbr
bootrec /fixboot
bootrec /rebuildbcd
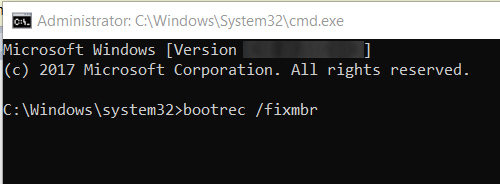
The command should fix both MBR and BCD related issues on your Windows 10 computer.
Method 4. Refresh or Reset Your PC
If the above ways of fixing the issue don't work for you, you may want to try resetting your Windows 10 PC. Resetting the PC fixes most common issues including the startup repair not working issue on a Windows PC.
● Launch the Settings app and head to Update & security.

● Click on Recovery in the left side panel and click on the Get started button just beneath the Reset this PC section.
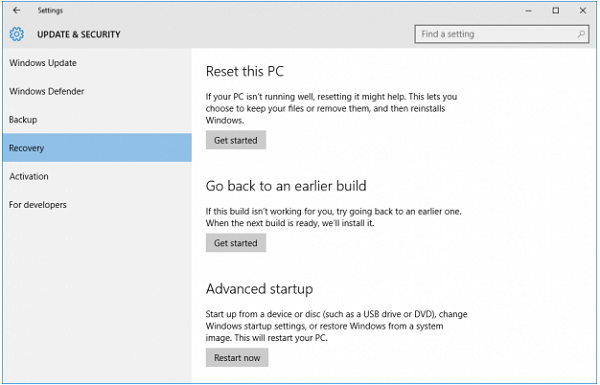
You will be shown instructions on how you can go about resetting your PC. Follow them and you will have successfully reset your PC resulting in fixing the startup repair issues.
Method 5. Windows 10 Automatic Repair Failed? Try Windows Boot Genius!
What above methods do is they use the built-in options on your computer to help you fix the issue. Sometimes, that's not enough and you will need a third-party tool to get the job done. Fortunately, there's a software called Windows Boot Genius that allows users like you to fix many kind of Windows startup issues on your computers.
Here we show briefly how you can use the software to fix issues on your computer:
● Download and launch the software on your PC. Insert a blank CD/DVD/USB into your disc drive, select it in the software, and click on the Burn button.
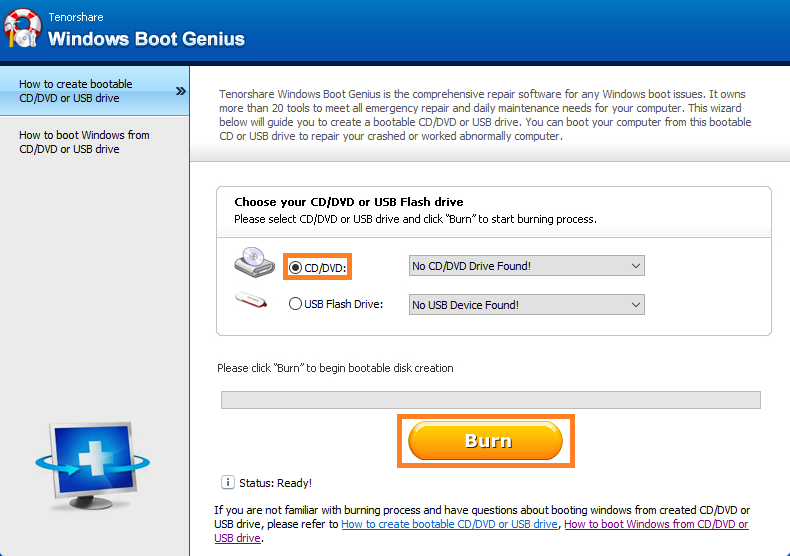
● Boot your PC from the bootable drive you just created and it will launch the software. Select Windows Rescue when the tool launches and then click on Crash after loading bar from the left panel.
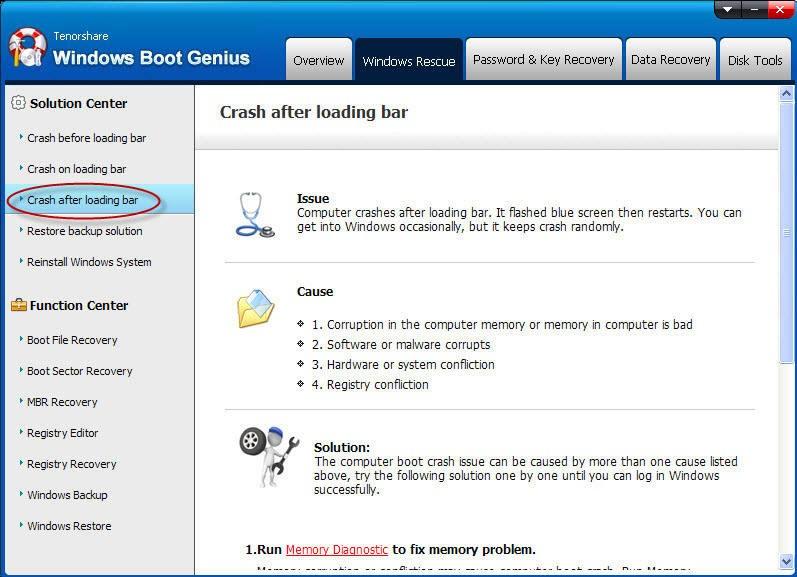
You will find instructions on how to fix that issue in the tool itself. Follow those and you will have fixed the Windows 10 automatic repair black screen issue on your Windows 10 computer.
If the Windows 10 startup repair not working, the above guide should definitely help you to get it to work again as you have five different methods to apply including a third-party tool Windows Boot Genius. We hope this guide helps you get rid of the issue from your computer.
- Related Articles
- [Solved] How to Fix System Restore Failed While Restoring the Directory From the Restore Point
- Best Way to Fix The Referenced Account Is Currently Locked Out And May Not Be Logged On To Windows 10
- 2 Easy Ways to Create A Partition on Windows 10
